How You Can Do More With Surreal CMS and FormKeep
Introduction
Surreal CMS is a great service that allows you to edit your static site directly in your browser. You still maintain direct control over the source and layout of your website, but by just adding some simple tags to the pages, you get an interactive CMS!
In this blog, we will cover some basics about how to add a Contact Us form to a Surreal CMS enabled site and use the Include feature to make it the same on all our pages.
Using Surreal CMS gives you the simplicity of a static site while giving you the ability to quickly make updates to your site on the fly. FormKeep allows you to capture email registrations or surveys without having to manage a backend database yourself.
Basic Forms In Surreal CMS
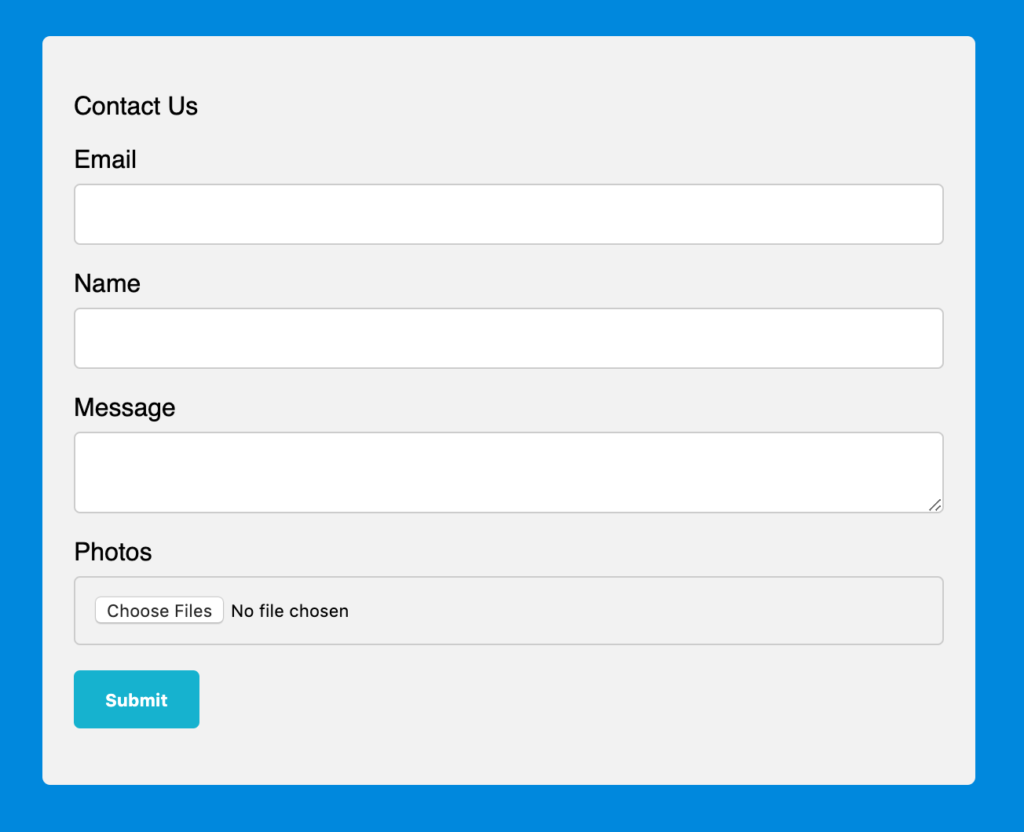
Here a Contact Us form that you can use on your site. We're going to use some of the advanced features from both Surreal CMS and FormKeep.

  <div id="contact-us-1" class="contact-us-container cms-include">
      <div id="contact-us-title" class="cms-editable"> Contact Us </div>
      <form accept-charset="UTF-8" action="https://formkeep.com/f/exampletoken" method="POST" enctype="multipart/form-data">
        <input name="utf8" type="hidden" value="✓">
        <label for="contact-email-address" id="contact-email-label" class="cms-editable">Email</label>
        <input id="contact-email-address" name="email" type="email" required>
        <label for="contact-name" id="contact-name-label" class="cms-editable">Name</label>
        <input id="contact-name" name="name" type="name">
        <label for="contact-message" id="contact-message-label" class="cms-editable">Message</label>
        <textarea id="contact-message" name="message"></textarea>
        <label for="contact-photo-album" id="contact-photo-album-label" class="cms-editable">Photos</label>
        <input id="contact-photo-album" name="photos[]" type="file" multiple>
        <button type="submit">Submit</button>
      </form>
    </div>
Let's walk through the Surreal CMS features
First, you'll see we used the cms-include tag in the top div along with a specific id. This allows us to use this same Contact Us form on many pages and anytime we update the content on one page it will change on all of them. That's perfect for the contact us section of our site, because we always want them to look the same and be sent to the same FormKeep form.
Next you'll see that we're using the cms-editable class on the title and labels of the form elements. This allows us to edit these values directly from Surreal CMS without having to drop down directly into the HTML code. Great!
You can add any additional fields you'd like to capture on your form, just make sure they have a unique id and name, and use the cms-editable class to indication which ones you want to be able to edit.
For extra credit, you can take a look at the documentation about Lockable and further control what is editable.
Let's walk through the FormKeep features
Now that we have the form setup and editable, let's talk a bit about FormKeep. The first thing to look at is the action tag on the form element itself.
When you create a form endpoint on FormKeep, you'll get a unique action url for that form. You'll replace the https://formkeep.com/f/exampletoken with the real one from your form.
Then when someone submits your form the data will get sent to FormKeep. It will store the data, also saving any images or documents uploaded, check to make sure it's not spam and then send you an email with the information.
You can create multiple forms for different pages, but in this case the contact form is the same across all our pages, so we just need one form.
Pro tips!
You might be tempted to add the cms-editable on the <form> element itself, but right now Surreal CMS doesn't handle that tag directly. (Give them a shout out if you want this feature, they're always adding things!) So you'll want to follow the example above and use spans, divs and labels to manage the editable blocks on your form.
FormKeep will accept any fields you send it, so you can change your form fields at anytime and it will start saving the new fields immediately. No other changes needed. It also supports reCAPTCHA in addition to the regular backend spam detection, if you are really having trouble with spam.
Here's some additional CSS you can use to style the form to look better than the defaults:
  /* Setup a reasonable default font */
  body {
    font-family: "Roboto", sans-serif
  }
  /* Style all select, textareas and input types except color, radio, checkbox */
  input:not([type=color]):not([type=radio]):not([type=checkbox]),
  select,
  textarea {
    width: 100%;
    /* Full width */
    padding: 12px;
    /* Some padding */
    border: 1px solid #ccc;
    /* Gray border */
    border-radius: 4px;
    /* Rounded borders */
    box-sizing: border-box;
    /* Make sure that padding and width stays in place */
    margin-top: 6px;
    /* Add a top margin */
    margin-bottom: 16px;
    /* Bottom margin */
  }
  /* Style textarea elements */
  textarea {
    resize: vertical
      /* Allow the user to vertically resize the textarea (not horizontally) */
  }
  /* increase the size of the select element to match others */
  select {
    height: 4em;
  }
  /* add some space between the radio options*/
  input[type=radio] {
    margin-left: 10px;
    margin-right: 5px;
  }
  /* add some space between the checkbox options*/
  input[type=checkbox] {
    margin-right: 10px;
  }
  /* Style the submit button with a specific background color etc */
  button[type=submit] {
    background-color: #14b2cf;
    color: white;
    padding: 12px 20px;
    border: none;
    border-radius: 4px;
    cursor: pointer;
    font-weight: bold;
  }
  /* When moving the mouse over the submit button, add a darker color */
  button[type=submit]:hover {
    background-color: #1091A9;
  }
  /* Add a background color and some padding around the form */
  .contact-us-container {
    border-radius: 5px;
    background-color: #f2f2f2;
    padding: 20px;
    width: 50%;
    margin: 30px;
  }
Enhancing Form Data Management and Integration
In each of these cases (and many others) you may benefit from using a form backend like FormKeep alongside your Surreal CMS site. With FormKeep, your data will be stored, secured and accessible in the cloud. From there, you will have a variety of tools to help you manage your form data and route it in a variety of different ways.
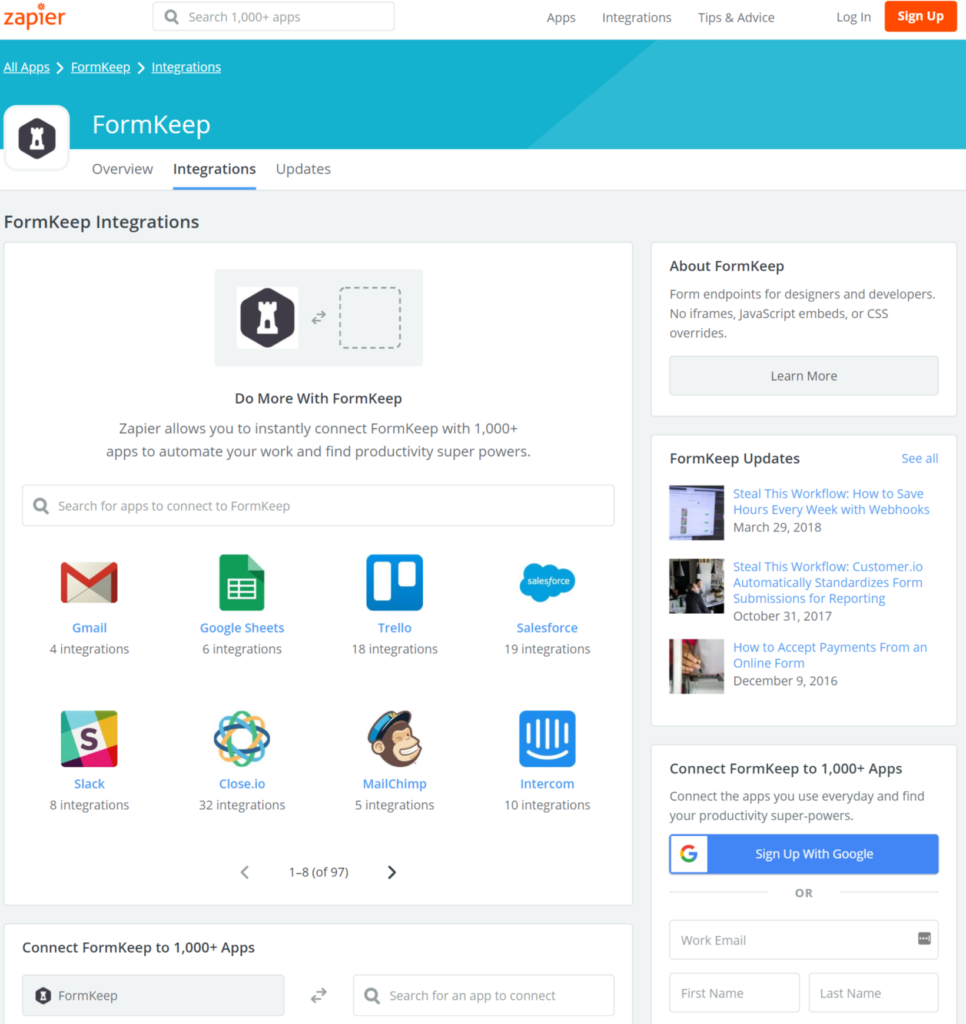
One popular way that designers and developers use FormKeep is using WebHooks or integration via Zapier to feed data to other applications like Hubspot, Constant Contact, Google Gmail, Salesforce, Slack or Mail Chimp (and thousands of others). You can search for over a thousand different integration points between FormKeep and other applications on the Zapier web site (pictured below):
 FormKeep Integrations - Zapier
You can experiment with this in the FormKeep demo environment in CodePen by clicking here.
If you would like help getting FormKeep setup with Surreal CMS, feel free to reach out to our friendly team at support@formkeep.com.