How to pipe FormKeep data to a data warehouse using Stitch
Create reports and visualizations with data from FormKeep and other sources by using a data warehouse
FormKeep provides form endpoints for developers and designers. You can point your form at a FormKeep URL, publish it to your site, and start collecting data without writing code for the form back end. Once you have some data, chances are you'll want to combine it with data from other SaaS applications and internal databases. For instance, if you have a form to gather shipping information, you might want to take the data you get and augment it with information in a shipping platform such as Aftership or Shippo. Or if you're soliciting product feedback, you might want to combine the answers with customer information from Salesforce. You could then correlate data from related applications to surface insights and gain business intelligence.
The best approach for joining information from multiple sources is to create a data warehouse that consolidates all of your data in a single location. Most businesses nowadays use cloud data warehouses for that purpose.
To populate the data warehouse, you can extract the data you have in SaaS applications and on-premises databases and load it using an ETL (extract, transform, load) tool. Once the data is available, analysts can use it to create reports.
In this post, we'll walk through the process of connecting FormKeep with a data warehouse and a business intelligence (BI) tool to create reports.
Three tiers of the data analytics architecture
Data sources like FormKeep form a foundation for a data analytics stack that comprises three tiers: ETL software, data warehouse, and BI software.
Stitch provides a simple, powerful ETL service for businesses of all sizes. Signup is simple — you can be moving data from one or more sources to a data warehouse in five minutes.
The last few years have seen the emergence of cloud-native data warehouses like Amazon Redshift, Google BigQuery, and Snowflake. Because they run on cloud infrastructure that scales quickly and cost-effectively to meet performance demands, they can handle transformation using the same hardware on which the data warehouse runs.
Finally, to unlock the value of your data, you can connect a BI or data visualization tool to your data warehouse and create reports that analyze data from multiple sources, which you can share via browser-based dashboards.
Setting up a data warehouse
Let's set up a three-tiered data analytics stack, starting with the data warehouse. If you don't already have a data warehouse, choose one that meets your needs. If you choose Redshift, BigQuery, Snowflake, or one of the other destinations Stitch supports, you can also follow the setup steps for your data warehouse in the Stitch documentation.
Setting up Stitch for ETL
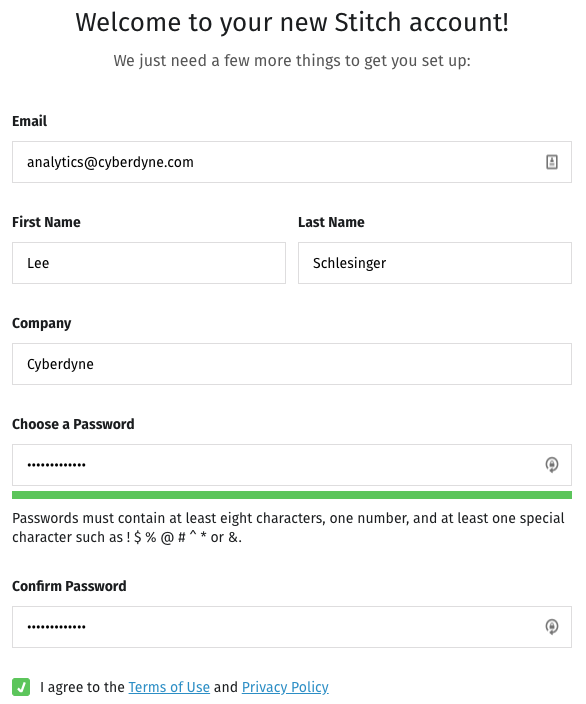
The next step is setting up an ETL pipeline to move data from your sources to the data warehouse. Stitch makes extracting data from a source and loading it into a data warehouse easy. To get started, visit the signup page, enter your email address, then enter your name and a password.
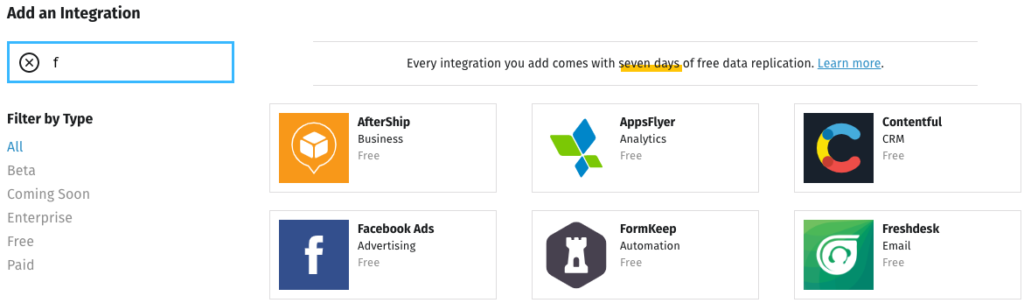
Add an Integration
Next, add FormKeep as an integration within Stitch. Click on the FormKeep icon to get started:
Enter a name for the integration. This is the name that will display on the Stitch Dashboard for the integration; it’ll also be used to create the schema in your destination.
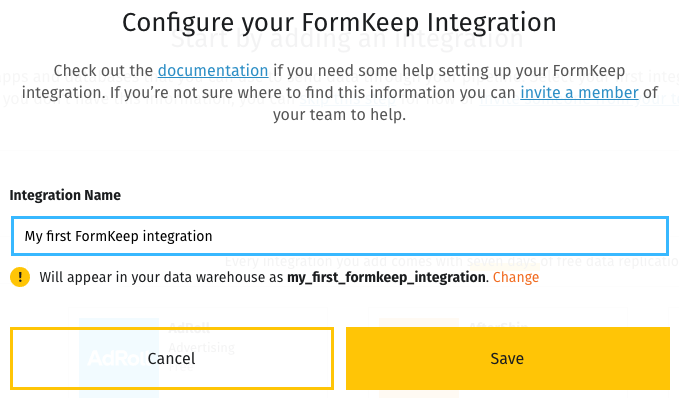
When you click Save, Stitch will generate a webhook URL:
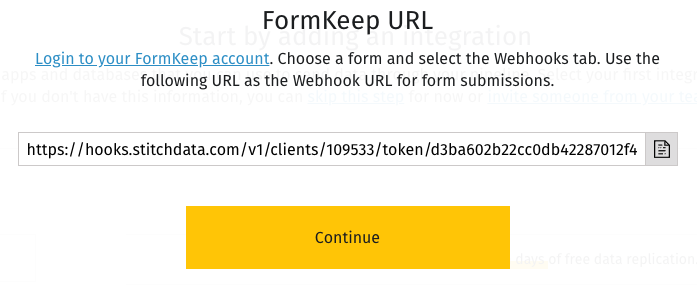
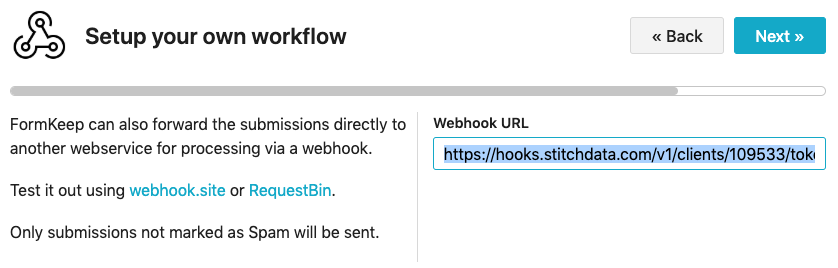
Configure FormKeep to send the data to Stitch
Click the Copy button to copy it, then switch back to your FormKeep account. Choose the form you want data from and, in the Settings Wizard, choose Webhooks. Paste the webhook URL, click Next a couple of times, then Finish.
Now all future form submissions will be replicated to your data warehouse — but first you have to connect the data warehouse you set up to Stitch as a destination. Click on the Destination link at the top of the Stitch dashboard.
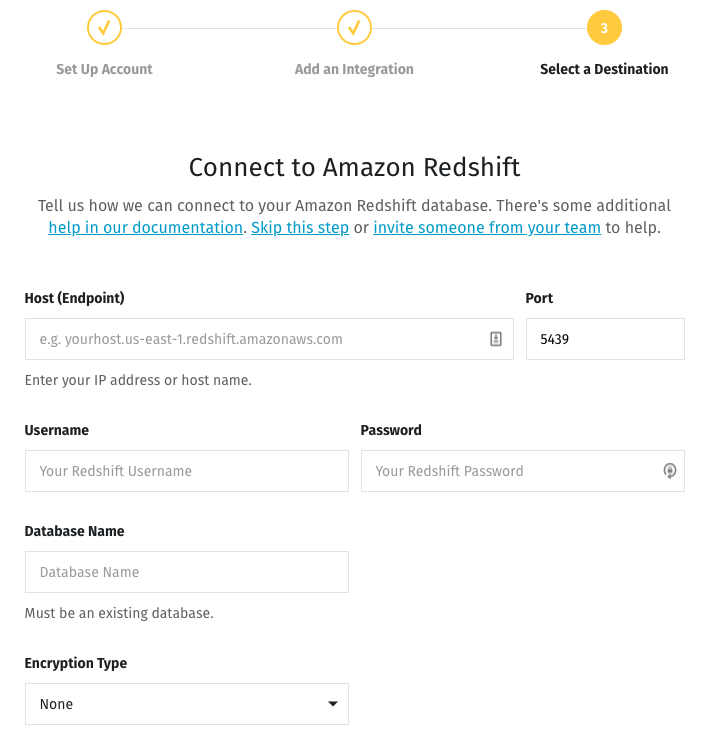
Add a destination

Suppose you've chosen an Amazon Redshift data warehouse. Clicking on the Redshift icon brings you to a screen where you can enter your credentials:
Now all the pieces are in place, and the data is ready to flow.
When you visit your Stitch dashboard, you'll see that your integration is marked Active, Continuously Replicated.
From the dashboard you can also do things like adding integrations from other data sources. The Stitch documentation walks through the process for each one.
What happens if your form changes after you set it up? Stitch will see any new fields and add them to your data warehouse, populating them with data that we receive moving forward. Fields that are removed will still exist in the warehouse, but they'll no longer get values once they're removed from the source. If you change the type of field, Stitch will add a new column to the data warehouse to hold the new data, and keep the old data around under a different column name. The exact details depend on which data warehouse you use; the process outlined in the data loading behavior section of the Stitch documentation for each data warehouse.
Connecting BI software to your data warehouse
The final stage of the process is connecting an analytics platform to your data warehouse. If you don't already use BI software, you have dozens to choose from, including such popular options as Tableau, Looker, Microsoft Power BI, and Google Data Studio.
That's all there is to it. Using an ETL tool like Stitch to move data from FormKeep and other sources into a data warehouse lets you leverage the power of BI tools to correlate and report on all of your valuable data. Give FormKeep a try today!