
The standard for payments on the web these days is Stripe. It offers a very easy way for designers and developers to collect credit card payments on any website. At FormKeep we strive to make it very easy to collect form submissions from any website too. If you want to collect some extra data from the customer (or donor), send them a follow up email, and be notified about payments, integrating FormKeep and Stripe can make this very straight forward.
To illustrate this we will build a simple donations website integrating FormKeep and Stripe.
Accepting payments through Stripe requires a backend, because Stripe helps you avoid storing credit card data directly (which is almost a must, to handle compliance). The logic is broadly this:
- You post your user’s payment data to Stripe, along with a public key and Stripe builds an expiring token for the specific card and amount.
- On your backend (so you don’t expose your private keys) you instruct Stripe to charge the card using the given token and your private key
- Then you can do whatever else you need (store some data, redirect to another page, send some emails).
So as you might see, there is a missing link here: we don’t have a backend to handle this. Thankfully, all this can be handled by serverless functions, which are becoming very pervasive around the web. To keep things simple, we will use Webtask.io for this example, but there are many providers to suit different needs. Webtask.io is just very easy to get up and running and is enough for what we want to do.
Our final product will have four parts:
- A FormKeep account and form where you will store the information of all the donors, and set up a “thank you” email for them.
- A Webtask.io account with a single function to handle the backend requirements to charge through Stripe.
- A Stripe account where the payments will be collected (we will use the test environment for this, but you will need to get your account approved and fully set up to accept real payments)
- A simple, one-page donations website (a simple html document, which you can then publish to any hosting service you like).
1. Create a FormKeep form
First off, create your FormKeep account if you don’t have one, and create a form to store your donor’s information. Go to the setup tab, and grab the URL for your form (the form’s “action”).
2. Post data to FormKeep from Webtask.io
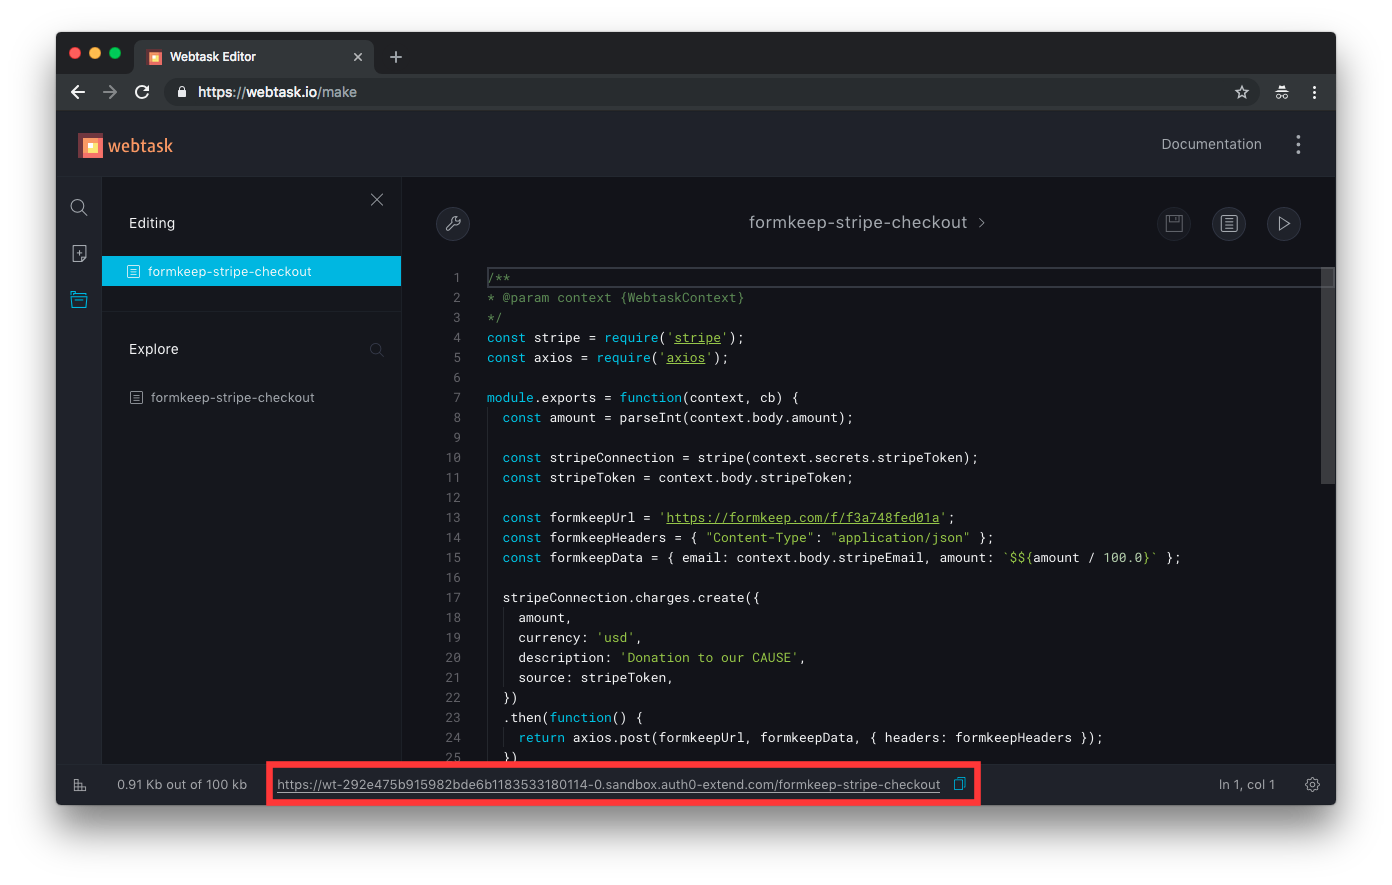
Now we’ll write a function to post arbitrary data from Webtask.io to FormKeep. We need to create a Webtask.io account and go to the Webtask.io editor. There we’ll choose to create an empty function and call it “formkeep-stripe-checkout”.
Next, we’ll add a secret for our form’s URL and call it formkeepUrl, by clicking on “Settings”/”Secrets”/”Add Secret”.

We’ll also need to add webtask-tools, express and axios as dependencies by clicking on Settings/NPM Modules/Add Module. webtask-tools allows us to pre-compile special kinds of functions as Webtask.io functions, we will use express (a Node.js web framework) so that we can control the request and response better than with plain Webtask.io functions, axios is a promise-based http library that works great both in the browser and in node.js, so it’ll help us keep the code clean and simple.
Now we can add the code to handle an HTTP POST request to our function, and in turn POST data to FormKeep, you can add this directly in the Webtask.io editor:
If you run the function with Webtask.io’s runner, or by hitting the URL (you can do it from your browser) and check your FormKeep dashboard, you should see a new submission.
3. Create a Donation form with Stripe “checkout”
First we need to create a Stripe account and get the test API keys.

We’ll also need to get our function’s URL from the bottom of the Webtask.io editor.
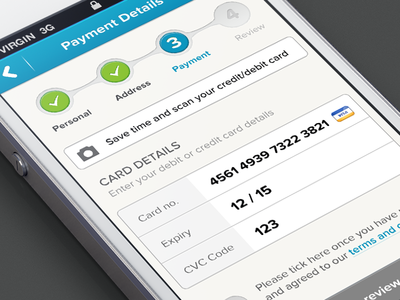
Now, on any text editor, we can add the HTML markup for the donation form (replace your Webtask.io function’s URL and your Stripe publishable key), we will be using Stripe’s “checkout” feature, which renders a simple checkout form, and handles posting the payment information, receiving the token from Stripe and posting the form to the specified URL (in this case, the URL for our Webtask.io function):
If you open the file in a web browser, you should see something like this.

To make things look a little nicer, you can add the following CSS in a file named stylesheet.css under the same directory as the index.html:
Your site should now look like this:

4. Set up the Webtask.io function to make the actual charge
We’ll add the Stripe API secret key to the Webtask.io secrets like we did before with the form URL (Settings/Secrets/Add Secret), and call it stripeApiKey. And then we add stripe as a dependency like we added axios (Settings/NPM Modules/Add Module”) to help us communicate with the Stripe API, and body-parser to help us parse the form from the request.
Now we need to make a few changes to our Webtask.io function, and we’ll have a donations site up and running:
That’s it! If you open your html file on a browser, click the donation button, enter a fake email and one of Stripe’s test credit card numbers (like 4242 4242 4242 4242) with a random expiration date and a random three number CVC and you should see a success notice.
Then on your Stripe dashboard you should see a charge in the test payments and on your FormKeep dashboard you should see the donation info.
How all this works
1. The Stripe “checkout” posts the credit card info directly to Stripe which returns a token.
2. On success, the Stripe “checkout” posts the rest of the form data to the Webtask.io function.
3. The Webtask.io function makes the charge with the token and the secret key, using Stripe’s API.
4. On success, the function posts the rest of the data to FormKeep for storage.
More things you can do
- Set up FormKeep emails to send a thank you email to donors.
- Collect some more user data, like a name or address.
- Do some validation on the data on the backend function, skip making the payment if a name isn’t given.
- Use the custom checkout integration to show the user a success message without leaving the page.
- Deploy
index.htmlto the web using something like surge.sh.